▂▃▅▇█▓▒░ [Models] ░▒▓█▇▅▃▂
On my idea post, I had planned to make 5 trains but due to time constraints I decided to prototype 2 of the models. The models I 3D printed are the steam train and the bullet train.
I added a hook to the front of the 2 models so that they could be hooked together. Making the hook wasn't too hard. However, the hardest part was trying to make sure these hooks were at the same height on the models. I had planned to put a hook on the front and the back of each model but due to time constraints I decided to just put 1 hook on the front of the models.
 |
| The Bullet Train Model in the "Render" view |
 |
The Steam Locomotive Model in the "Render" view
|
 |
| The models of the Bullet Train (left) and the Steam Locomotive (right). |
 |
The hooks
|
 |
The hooks attached to the front of the models.
|
▂▃▅▇█▓▒░ [3D Printing] ░▒▓█▇▅▃▂
I had never 3D printed anything before so this was quite a fun and interesting learning experience. Since Peter walked me through the process of 3D printing my model it went pretty smoothly. I was kind of worried that my print might go wrong. But I watched the machine run for about an hour and it was printing as expected with no issue so I had nothing to worry about.
 |
My Bullet Train Model getting printed
|
 |
| My Steam Locomotive Model getting printed |
▂▃▅▇█▓▒░ [Prototype] ░▒▓█▇▅▃▂
The prototypes came out really nice. There was a lot of support material on it but it surprisingly came off easily with a pair of plyers. I unfortunately forgot to take a photo of the printed objects with the support material...
Anyways the hooks on prints work just as intended, they have a perfect fit and are more sturdy then I though they were going to be.
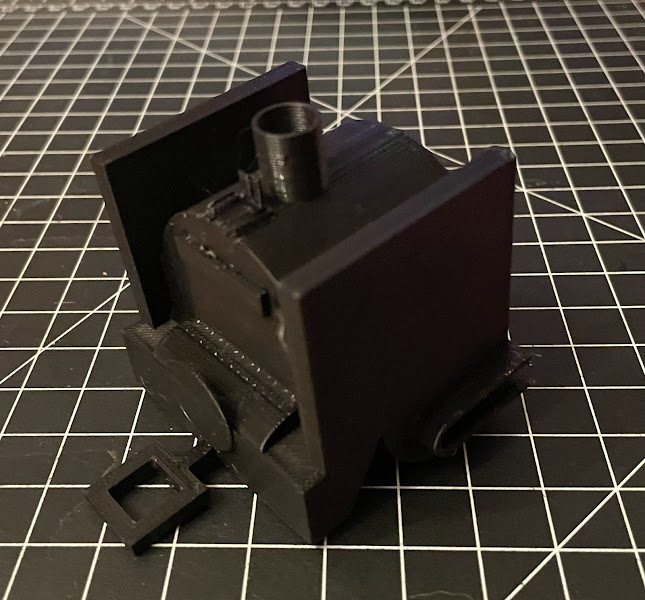 |
| Printed Steam Locomotive Model |
 |
| Printed Bullet Train Model |
 |
| Both models connected using the hooks |
▂▃▅▇█▓▒░ [Final Thoughts] ░▒▓█▇▅▃▂
This was a fun experience going from modeling my objects in Rhino to 3D printing it to have a physical item. However, the model nor my print were perfect and there are some things that I would definitely want to revise for my next print. One issue was that these prints had quite a lot of support material. Which wasn't hard to remove but it left some material that I would have to smooth out. So in the revised model I would print the body and the wheels separately so that I wouldn't need to be as much support material.
 |
| The body and wheels of the train separated |


Comments
Post a Comment