Project 3: Final Print
▂▃▅▇█▓▒░ [Revised Models] ░▒▓█▇▅▃▂
For the revised models I decided to create new ones instead of updating the previous models. That is because the models used for the prototypes were quite complicated, so updating them would mean I would have to rebuild them from scratch. So I opted to make new train models that were simpler, which were the freight and metro trains.
 |
| Freight Train Model |
 |
| Metro Train Model |
For these updated models I split the models into separate pieces. The wheels, the body, and the hooks. This way I could limit the amount of support material needed when printing these. On the wheels, I added 2 extruded rectangles so that I could connect the wheels and the body together easily.
I also made the hooks more stable by making them thicker than the previous models. I also decided to print this separately from the main body so that I could limit the amount of support material some more. I also added holes into the main body for the hooks, and the wheels so I could assemble them together.
▂▃▅▇█▓▒░ [Printing] ░▒▓█▇▅▃▂
Just the same as last time the printing process worked well. I was going to print both the freight and metro train models however, I accidentally printed the freight train model twice and since I was limited by the time I wasn't able to print the metro train. Which was rather unfortunate.
A short timelapse of the freight train being 3D printed
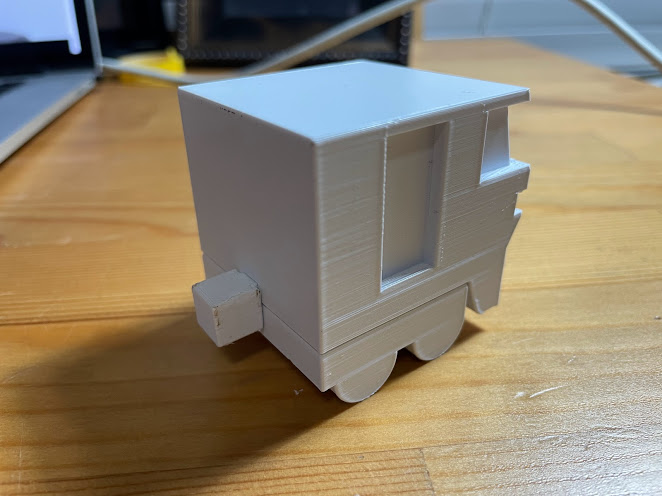
Because I updated the models to limit the amount of support material it was very easy to take off. With the support material only being on the windows, lights, and the holes for the hooks. However, there was an issue with the assembly. I modelled the holes in the model for the hooks to be perfectly in line. But when I was assembling it the hooks wouldn't go into the holes so I had to carve the edges with a box cutter, which allowed the hooks to fit into the holes.
 |
| The hole for the front hook |
 |
| The front hook hole after I carved it |
 |
| The front hook fitted into the hole |
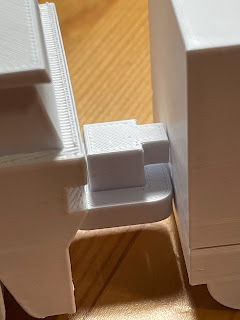
Another thing I noticed is that the hooks don't work properly. The square hook that goes into the loop, has a piece that fits into the hole in the main body. However, that small piece is too short so the square hook can't reach the loop hook.
 |
| The hooks that don't quite reach |
 |
| The front hook |
 |
| The back hook, which doesn't stick out enough to stick into the front hook |
▂▃▅▇█▓▒░ [Final Thoughts] ░▒▓█▇▅▃▂
I am pretty happy with the changes that I made to this model. Definitely separating the pieces from the model was a pretty good idea as it lowered the amount of support material needed. I ended up printing the same freight train model twice instead of the freight and metro train which is something I quite regret. Another thing I learned is that for 3D prints that have parts that stick together, I should leave more space around 1mm or so. That way I won't run into the same issue I had with the hooks with the freight train.
Overall with this project, I had some issues at the beginning with coming up with an idea, but I'm still happy with the objects I created. The process of modelling the object in Rhino to printing it was honestly quite fun and I'm looking forward to doing more stuff like this in the future.


Comments
Post a Comment